
 Pin it
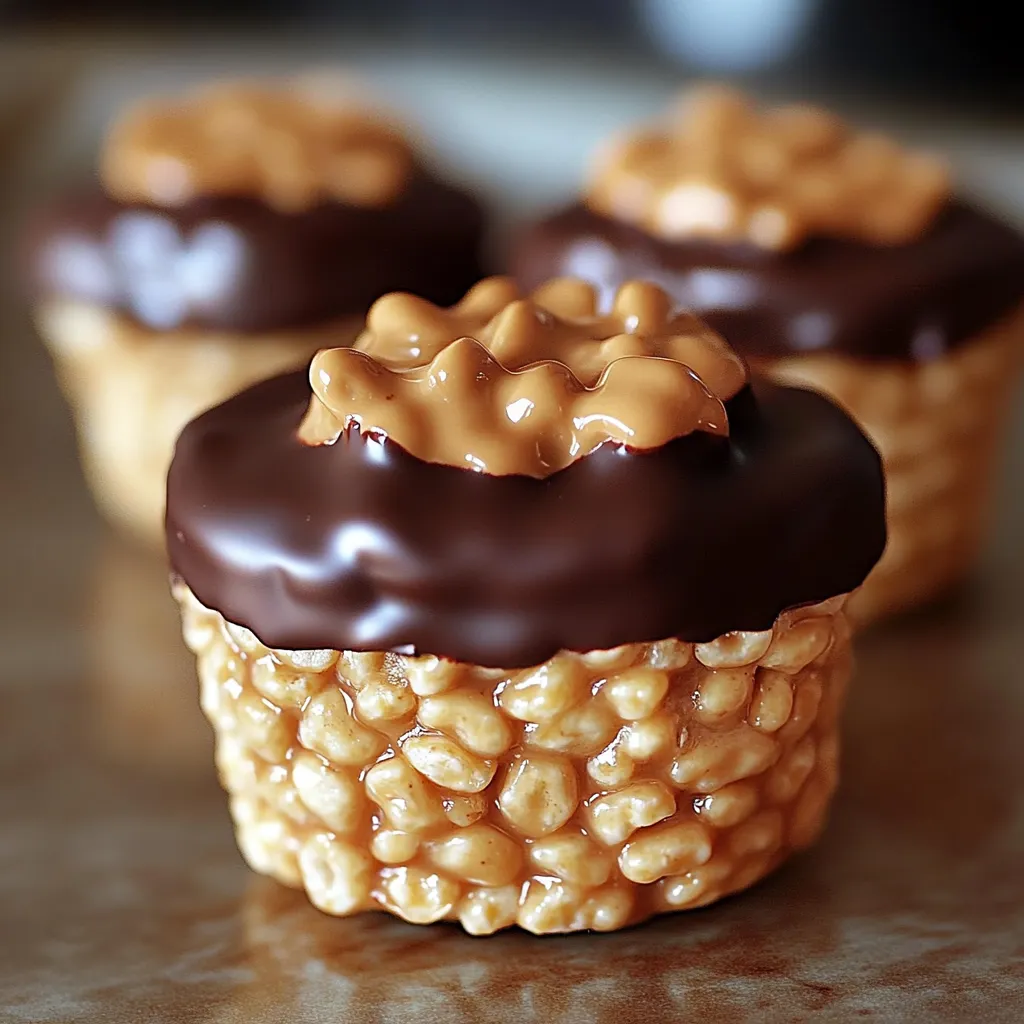
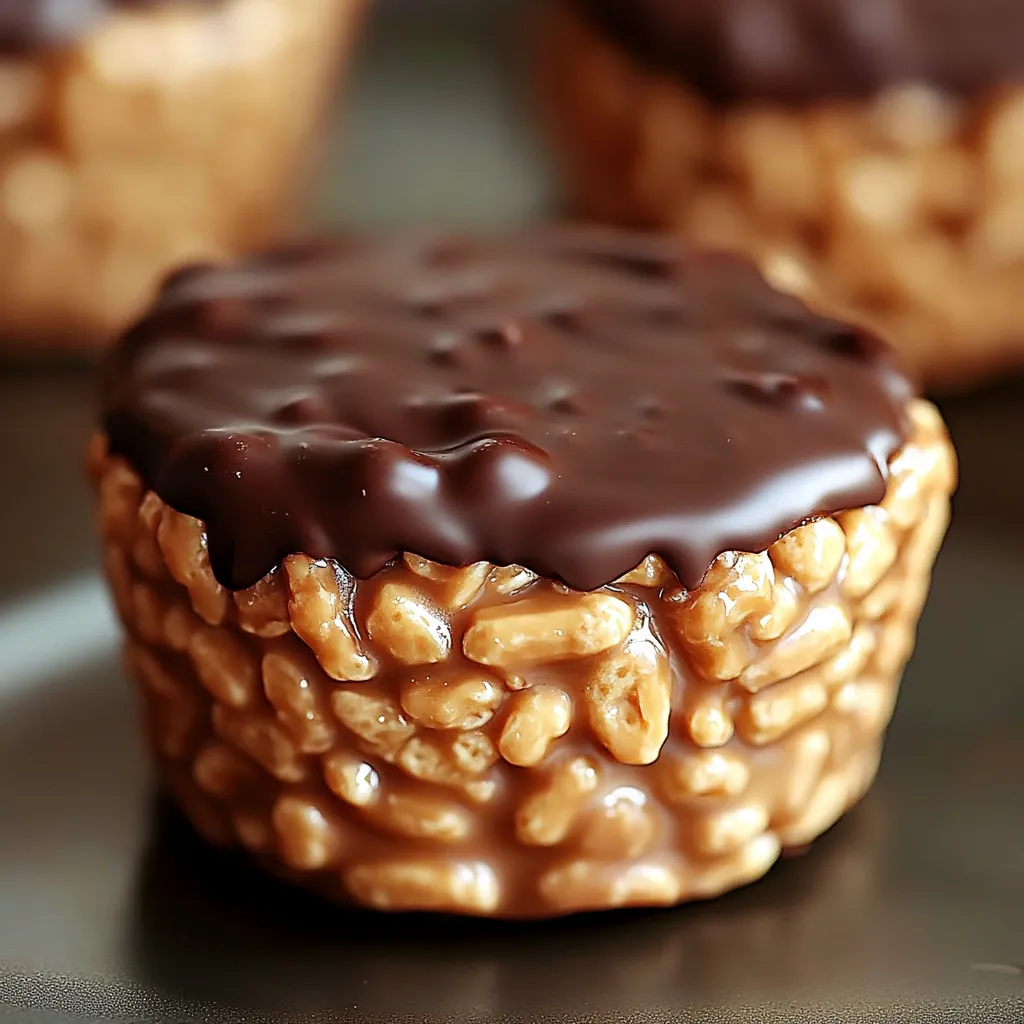
These no-fuss crispy cups blend cereal with smooth chocolate and peanut butter for a blast from the past that'll kill your sweet cravings in minutes flat. I always whip these up when friends drop by without warning or when I'm dying for something sweet but don't wanna spend hours in the kitchen.
I first threw these together during a blackout when my kids were going stir-crazy. The peanut butter and chocolate combo was such a knockout that now they beg for these cups whenever we watch movies or need treats for school fundraisers.
What You'll Need
- Smooth peanut butter: Works as the perfect binder while packing tons of flavor. Stick with popular store brands for the best results.
- Corn syrup or honey: Sweetens naturally and keeps everything stuck together. Honey brings a gentle flowery taste.
- Rice Krispies cereal: Delivers that must-have snap and crackle. Make sure it's fresh for maximum crunch factor.
- Semi sweet chocolate chips: Make the ideal topping without going overboard on sweetness. Better quality chips will melt without issues.
- Peanut butter chips: Pump up the nutty flavor in your chocolate layer. You can skip these, but they're totally worth adding.
- Vanilla extract: Boosts every other flavor in the mix. Go for real stuff instead of fake for a noticeable upgrade.
- Salt: Cuts through sweetness and makes chocolate taste even better. You'll only need a tiny bit.
How To Make These Cups
- Get Your Pan Ready:
- Put paper liners in a regular muffin tin or give each cup a light coating of oil. This step makes sure your treats come out clean when they're done. If you go with paper liners, pick thick ones that won't soak up too much of the good stuff.
- Make Your Peanut Butter Mix:
- Throw peanut butter and honey in a big microwave-safe bowl. Warm it up in 30-second bursts, stirring each time, until it's totally smooth. It should flow easily but not be hot enough to make your cereal soggy. This usually takes 1-2 minutes, depending on your microwave.
- Add Your Cereal:
- Pour Rice Krispies into your warm peanut butter mixture and fold everything together until all pieces are coated. Don't drag your feet since the mixture starts hardening as it cools. Try not to smash the cereal because you want to keep that awesome crunch.
- Shape Your Treats:
- Scoop equal amounts of cereal mix into your muffin cups. Push down lightly with a spoon or your fingers to pack them in, making small dents in the middle for your chocolate. Leave some space at the top for the chocolate layer.
- Fix Your Chocolate:
- Put chocolate chips and peanut butter chips (if you're using them) in a microwave-safe bowl. Heat in 30-second bursts, stirring between each, until completely melted. Once melted, mix in vanilla and salt to kick up the flavor. The mixture should look shiny and pour smoothly.
- Top With Chocolate:
- Pour melted chocolate over each cereal cup, making sure they're covered evenly. Tap the pan on your counter so the chocolate settles and looks smooth. If you want to get fancy, sprinkle some crushed nuts or sea salt on top before the chocolate hardens.
- Let Them Set:
- Stick them in the fridge for about 30 minutes or until the chocolate gets firm. The cold helps everything stick together properly, giving you nice clean edges and that perfect crunch-to-smooth contrast.
 Pin it
Using honey in these treats always makes me think about my grandpa who raised bees. When I use his wildflower honey, it brings a bit of family history to the dessert. Those subtle flower hints work so well with the peanut butter, creating deeper flavors than you'd expect from such basic stuff.
Custom Touches
You can easily switch these up based on what's in your kitchen cabinets. Swap the peanut butter for almond or sunflower seed butter if allergies are an issue. The top layer works great with any kind of chocolate - dark, milk, or white - whatever you like best. For extra fun texture, toss in some tiny marshmallows, chopped nuts, or bits of dried fruit into your cereal mix.
 Pin it
Keeping Them Fresh
Keep your treats in a sealed container with wax paper between layers so they don't stick together. They'll stay good at room temp for 3 days or in the fridge for a week. Want to save them longer? Wrap each one in plastic, put them in a freezer bag, and freeze for up to 3 months. Let them sit out for about 30 minutes before eating.
What To Serve With Them
These cups taste amazing with a cold glass of milk. Grown-ups might enjoy them with coffee or sweet wine for a fancier treat. They also go wonderfully with some fresh berries or a scoop of vanilla ice cream if you want to make it a proper dessert.
Fun For Little Helpers
This recipe's great for getting kids involved in the kitchen. They can help measure stuff, dump in the cereal, and press the mix into cups. Since there's no baking, you don't need to worry about hot ovens, but they'll still learn basic cooking skills. My kids go crazy decorating the tops with colorful sprinkles or tiny chocolate chips before the chocolate sets.
Frequently Asked Questions
- → Can natural peanut butter work for this?
Yes, just make sure it's well-stirred to mix the oil and create a smooth, even consistency.
- → What substitutes work for honey?
You could try agave or maple syrup instead. Just know it might slightly tweak the flavor and thickness.
- → How to keep the chocolate layer smooth?
Microwave in short bursts, stirring each time. Adding a bit of oil or butter can help achieve a shiny, even finish.
- → Can I prepare these in advance?
Definitely! They’ll keep fresh for up to a week in the fridge when sealed in an airtight container.
- → What’s the best way to store them?
Keep them refrigerated in a sealed container to maintain the chocolate's firmness and texture.
- → Can I freeze them for later?
Yes, you can freeze for up to a month. Thaw them in the fridge before enjoying for the best texture.