
 Pin it
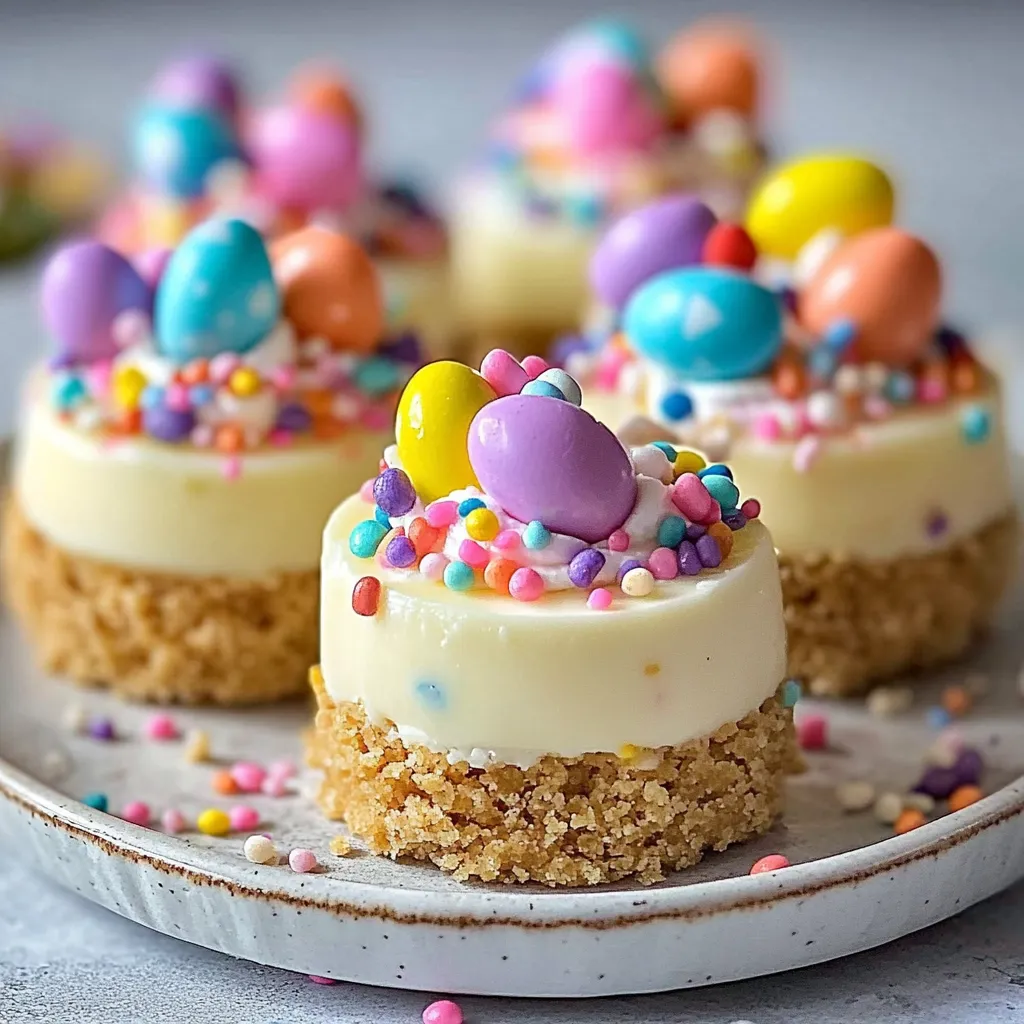
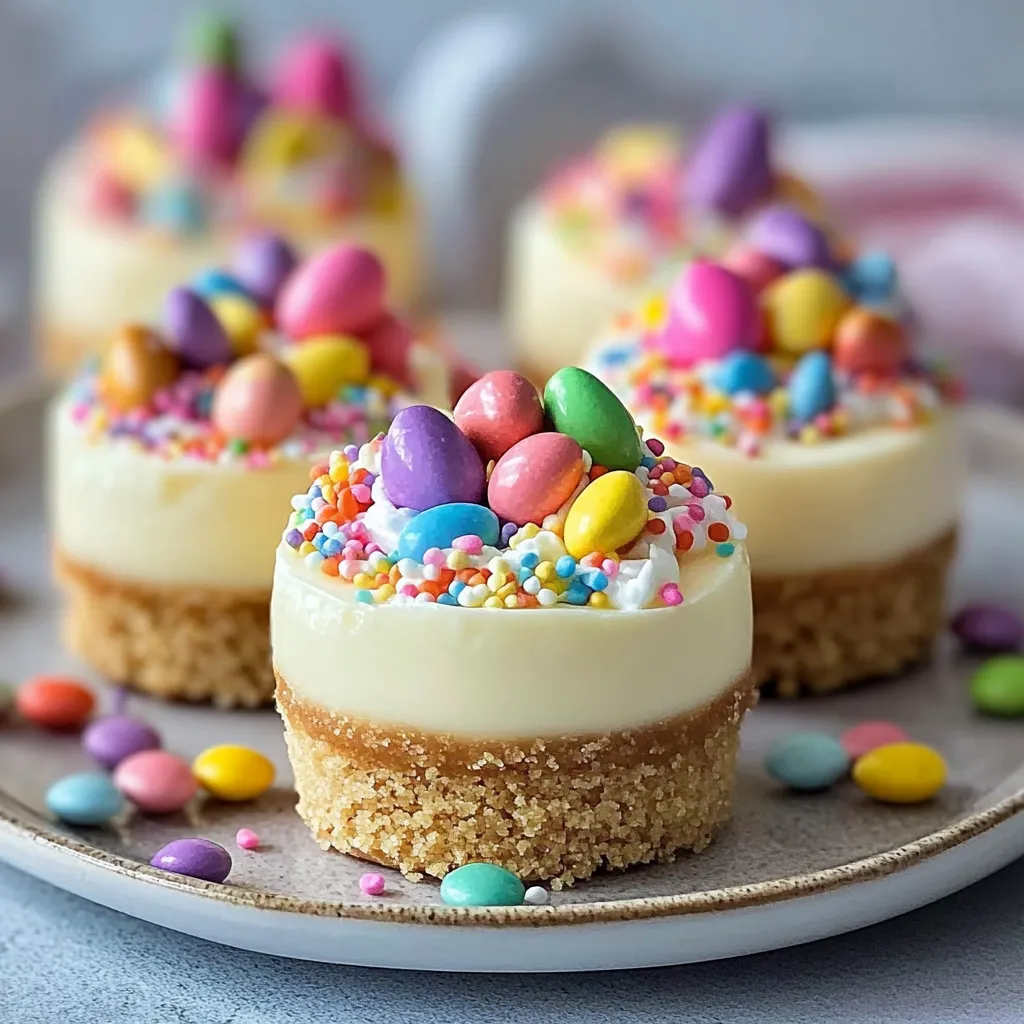
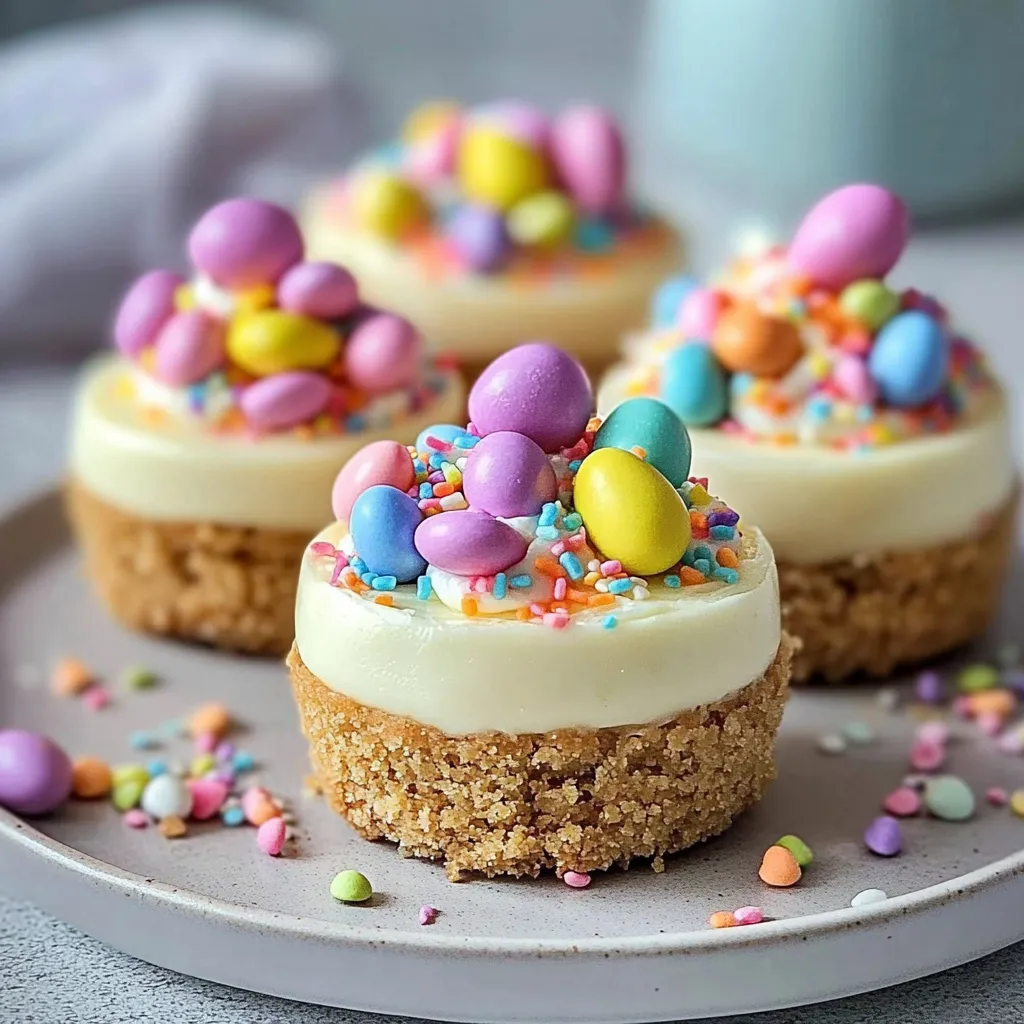
These cute little Easter mini cheesecakes turn a traditional favorite into a fun spring dessert that'll brighten up your holiday spread. Each personal-sized treat has a rich graham cracker base topped with smooth, creamy filling and decorated with bright Easter candies that'll make both kids and grown-ups smile.
I came up with these mini treats when I hosted Easter brunch right after getting married. My husband's mom wanted me to make my well-known cheesecake, but I needed something more holiday-themed and easy to grab. These little desserts were such a success they've stuck around as our family's Easter must-have for seven years now.
What You'll Need
- Graham cracker crumbs: Get them fresh for maximum flavor. The pre-packaged ones work great, or crush your own graham crackers if you want a chunkier texture
- Melted butter: Holds your crust together. Go with unsalted to control the taste better
- Sugar: Added to both crust and filling for sweetness. Plain granulated sugar works best
- Cream cheese: Must sit out until completely soft to avoid bumps. Choose full-fat for the smoothest results
- Egg: Helps everything stick together. Pull it out when you set out the cream cheese
- Vanilla extract: Gives flavor depth. Real vanilla beats imitation by miles
- Sour cream: Adds tang and smoothness. Stick with full-fat for ultimate creaminess
- Easter candy: For the fun finishing touch. Try mini chocolate eggs, small jelly beans, colorful sprinkles or whatever festive treats catch your eye
Easy Preparation Steps
- Get Ready:
- Put paper liners in a standard 12-cup muffin tin. You'll get exactly 12 mini cheesecakes from this recipe. Set your oven to 325°F for slow, gentle baking that keeps the tops from splitting or getting too brown.
- Create Your Base:
- Mix graham cracker crumbs, butter, and sugar in a bowl until it looks like damp sand. Push about 1 tablespoon firmly into each liner bottom using a spoon back or your fingertips. Make sure it's packed down and level.
- Whip Up The Filling:
- Beat cream cheese with electric beaters on medium for 2-3 minutes until totally smooth. Mix in sugar until well blended and slightly airy. Add the egg and blend just until mixed, then stir in vanilla and sour cream until everything's smooth. Don't mix too much after adding the egg or you'll trap too much air.
- Pour And Bake:
- Split the filling evenly between your muffin cups, filling each about 3/4 full. Tap the pan lightly on your counter to push out air bubbles. Bake for 20-25 minutes until the edges look set but the middles still wiggle slightly. They'll firm up more as they cool.
- Cooling Time:
- Let them sit in the pan for about 30 minutes at room temperature, then move to your fridge for at least 2 hours but better overnight. This slow cooling keeps the tops from cracking.
- Add Holiday Flair:
- Right before you serve them, dress the tops with Easter candy. For a fancy touch, arrange mini chocolate eggs, jelly beans, or pastel sprinkles in pretty patterns on each one.
 Pin it
What really makes these cheesecakes taste amazing is that spoonful of sour cream in the mixture. I learned this trick from my grandma, who always said a bit of sour cream was her hidden weapon when baking. During one Easter, my little niece, just four years old, called these "the prettiest cakes in the whole universe" while she carefully placed her candy decorations in perfect circles, and that sweet moment locked this recipe into our family traditions.
Prep Them Early
These mini treats actually taste better the next day, which makes holiday planning so much easier. You can make them up to two days before and keep them covered in the fridge without any toppings. The flavors blend together and the texture gets even creamier overnight. Just add your candy decorations right before serving so the colors stay bright and don't bleed onto your cheesecakes.
 Pin it
Tasty Twists
This basic mini cheesecake recipe works as a great starting point for tons of different options. Want chocolate? Just mix in 2 tablespoons of cocoa powder to your filling. For Easter-colored cheesecakes, split your batter and add drops of pastel food coloring to each part. Or try seasonal flavors by adding some lemon zest, orange extract, or even swirling in a bit of raspberry jam before baking. Each version keeps that creamy goodness while giving you a whole new taste experience.
Ways To Serve
Stack these mini cheesecakes on a multi-level treat stand to create an eye-catching centerpiece for your Easter dessert table. Add fresh berries, edible flowers, or a light sprinkle of powdered sugar to make them look extra fancy. For a really special touch, put out small bowls of lemon curd or berry sauce so guests can add their own topping. Since they're already in individual portions, they work perfectly for buffet-style parties.
Quick Fixes
Got cracks on top? Don't worry about it. That's just looks and you'll cover them with decorations anyway. For your next batch, use room temp ingredients, don't overmix, and let them cool slowly. If your crusts fall apart too easily, add another teaspoon of melted butter to help stick the crumbs together. Want firmer cheesecakes? Try mixing in an extra tablespoon of flour to your filling.
Frequently Asked Questions
- → Can I substitute the graham cracker crust?
Of course! Crushed cookies like vanilla or chocolate wafers are awesome swaps if you'd like a different flavor.
- → How can I tell if they're baked just right?
You're good to go when the centers wobble slightly, but the edges are firm. Make sure not to overbake—too much time in the oven can lead to cracks.
- → Is it okay to prepare these in advance?
Definitely! Keep them in the fridge for up to three days—they're a great dessert to prep early.
- → What other toppings work besides Easter candy?
You could add fresh fruit, crushed cookies, caramel, or a swirl of whipped cream for extra variety.
- → Are these cheesecakes freezer-friendly?
Yes! Just freeze them without the candy. Once they're cooled, seal them up in an airtight container and store them for up to a month. Thaw when you're ready and add the fun toppings before serving.