
 Pin it
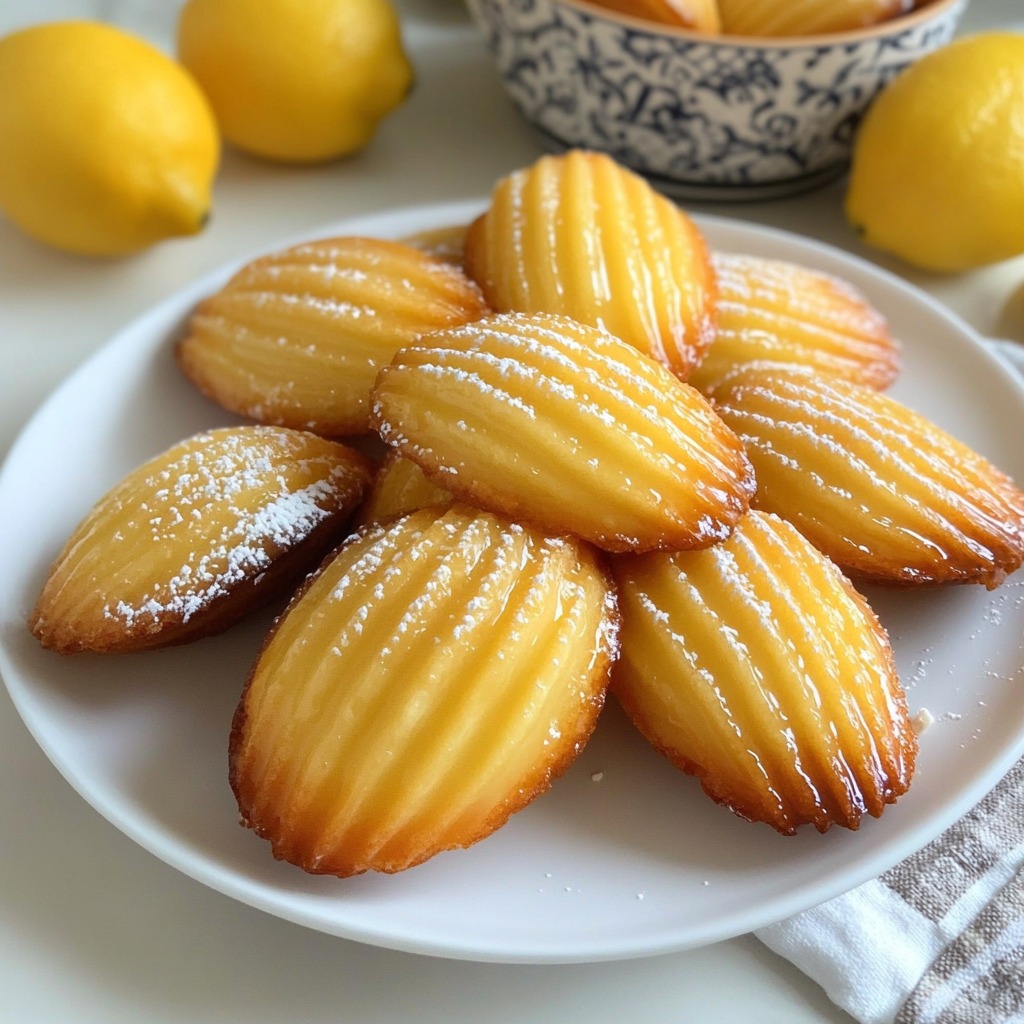
These dainty French shell-shaped lemon cakes blend buttery goodness with zesty citrus notes. The light tangy glaze adds just enough moisture and zingy flavor to these lovely little tea-time treats.
I picked up how to make these during a cooking workshop in France. The instructor was really firm about cooling the mixture before baking it. I thought this was just extra work at first, but later found out it's totally needed for getting that famous bump on the back of each cake.
What You'll Need
- Unsalted butter: Gives these a rich taste and helps make those crispy edges. Try to get good European-style butter if you can.
- All-purpose flour: Creates the soft structure these cakes need.
- Granulated sugar: Adds sweetness without taking over the other tastes.
- Large eggs: Gives structure and richness. Let them sit out till they reach room temp.
- Lemon zest: Adds fresh citrusy punch. Grab organic lemons and only grate the yellow part.
- Whole milk: Makes everything more tender and moist. Don't skimp on fat here.
- Vanilla extract: Rounds out all the flavors nicely.
- Baking powder: Makes that classic bump form on the back.
- Salt: Brings out sweetness and makes all flavors pop.
- Powdered sugar: Creates a silky glaze that hardens just right.
- Fresh lemon juice: Gives the glaze its zing and boosts the lemon taste.
How To Make Them
- Mix Your Base:
- Beat eggs and sugar until they turn pale and fluffy to trap air that'll make your cakes light. This takes roughly 3-4 minutes by hand or 2 minutes with a mixer. You'll know it's ready when it forms ribbons as you lift the whisk.
- Add The Wet Stuff:
- Make sure your melted butter has cooled a bit so it won't cook the eggs. Get that lemon zest super fine so it spreads evenly through the batter. Just stir until everything comes together to keep all that air inside.
- Mix In Dry Parts:
- Stir flour, baking powder, and salt in a separate bowl for even mixing. When you add this to your wet mix, use a light touch with a rubber spatula, cutting down the middle and folding over the sides until you can't see any dry spots.
- Let It Chill:
- You might not see this in every recipe but it's super important. Cover your batter and stick it in the fridge for at least an hour or overnight. This lets everything relax and soak up moisture, giving you softer cakes that rise better.
- Pop Them In The Oven:
- Only fill your molds about three-quarters full so they have room to grow. The famous bump forms best when cold batter hits a hot oven, so heat it up good first. Keep an eye on them since they can go from perfect to too brown really fast.
- Add Glaze While They're Warm:
- The lemony glaze adds moisture and boosts the citrus kick. Brush it on while the cakes are still a bit warm so some soaks in. If you want more glaze coating, dip them again after the first layer sets.
 Pin it
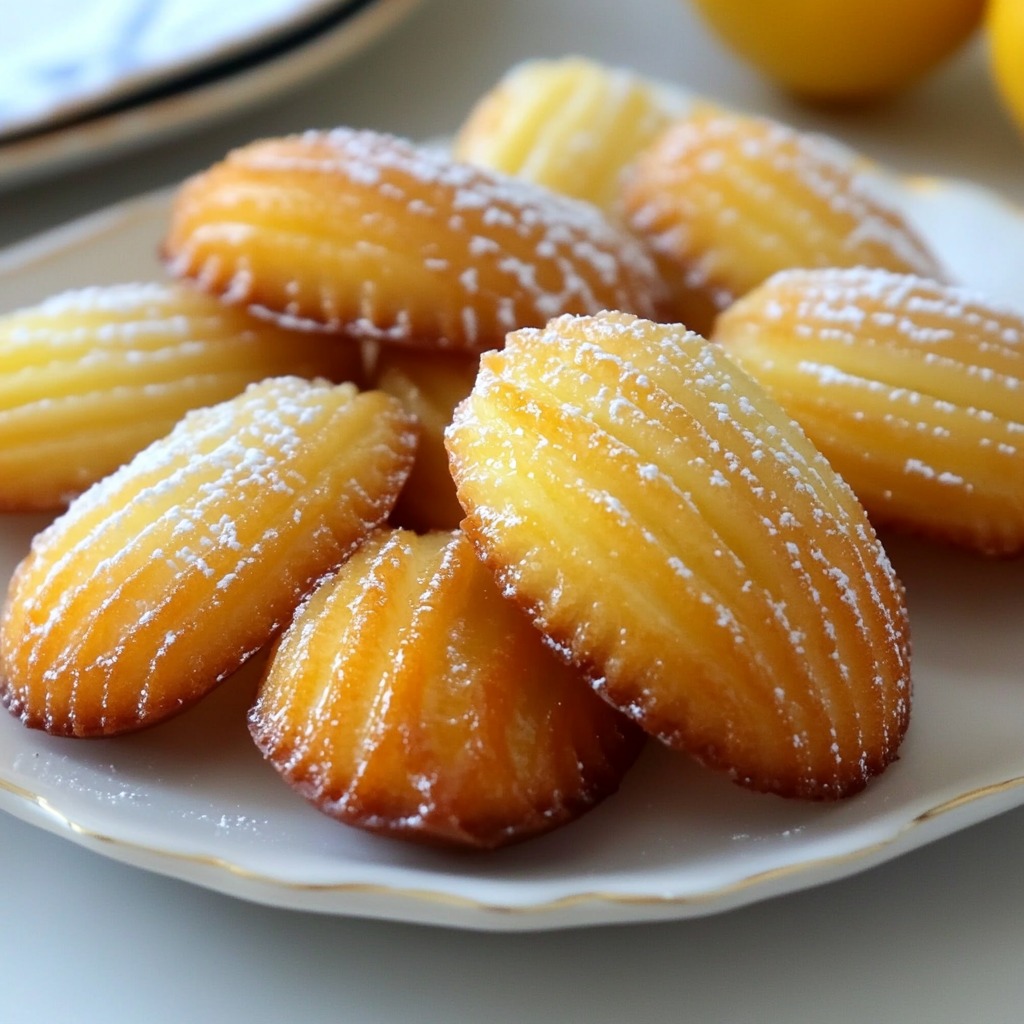
My grandma always told me a good madeleine needs that bump on the back. She showed me how to firmly knock the pan on the counter before baking to get rid of big air bubbles, then put it straight into the hot oven for that perfect rise.
The Magic Touch For Amazing Results
Getting your pan ready is the key trick for classic madeleines. Coat every groove of your pan with melted butter, then sprinkle with flour and tap off what's extra. This makes a thin layer that helps the batter climb up the ridges while baking, creating those pretty shell patterns with crispy edges. Some folks even cool their buttered pans before filling them to create more temperature difference that helps form that special bump.
Tasty Twists To Try
This lemon version is the classic, but you can play around with loads of flavors. Switch out lemon for orange or lime zest, or add a teaspoon of lavender or rose water for flowery notes. Chocolate fans can swap two tablespoons of flour for cocoa powder. During winter holidays, try adding a bit of cardamom or cinnamon for festive treats. My own favorite twist is mixing in a tablespoon of finely chopped fresh herbs like thyme or rosemary for a fancy sweet-savory mix.
 Pin it
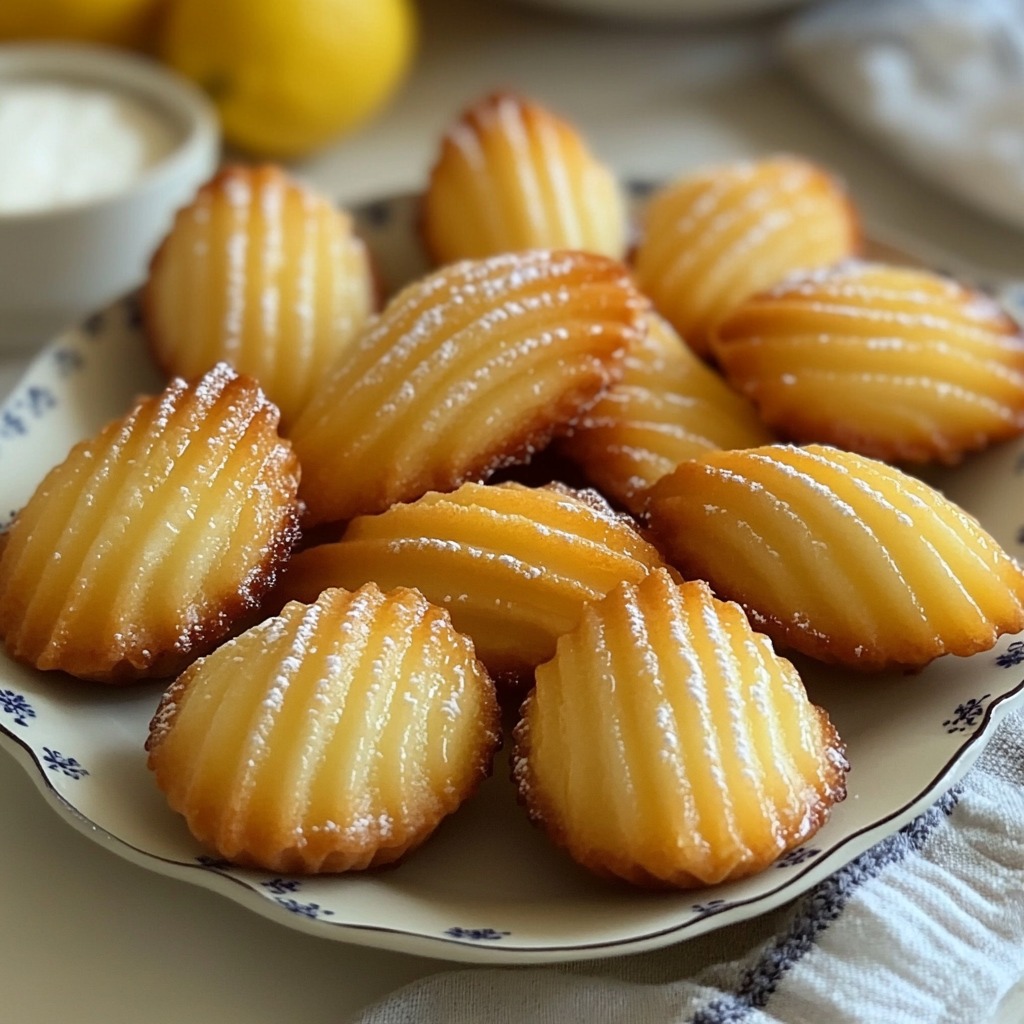
Ways To Enjoy Them
Madeleines taste best when they're still a bit warm, about 10-15 minutes after you've glazed them. They go great with afternoon tea, especially Earl Grey since its citrusy notes match up nicely with the lemon. For a dessert option, serve them with fresh berries and whipped cream, or make cute ice cream sandwiches by putting a small scoop between two cakes. They also make lovely gifts when wrapped in parchment paper and boxed with ribbon, though they should be eaten within a day for the best texture.
How To Keep Them Fresh
These little cakes taste absolutely best on the day you bake them, when they have that perfect mix of crispy outside and soft inside. But you can keep them in an airtight container at room temp for up to 3 days. Put parchment paper between layers so they don't stick together. To perk up day-old madeleines, warm them in a 300°F oven for about 3 minutes. You can also freeze them without glaze for up to a month, then let them thaw at room temp and add glaze before serving.
Frequently Asked Questions
- → How can I keep madeleines airy?
Beat the eggs with sugar until fluffy and pale to add air. Gently fold in dry ingredients to avoid flattening the batter.
- → Can I switch lemon for another citrus?
Absolutely! Try using lime, orange, or a mix of citrus to tweak the flavor your way.
- → Why use special pans for madeleines?
Their signature shell shape is thanks to the unique mold design, which also bakes the treats evenly.
- → How should I store madeleines?
Keep them in a sealed container at room temperature for a few days. Freeze them (unglazed) for longer preservation.
- → Can I prep the batter early?
Yes, chilled batter can rest in the fridge for up to a day before baking, which can even improve their texture.